05 5 reactquery설정
1-TanStackQuery설치
1-1-패키지설치
- https://tanstack.com/query/latest/docs/framework/react/installation 이동
- 설치
npm i @tanstack/react-query
1-2-파일생성
- next-with-supabase\components\query-provider.tsx 파일생성
- QueryPrivider 컴포넌트 작성
1'use client';2import {QueryClient,QueryClientProvider} from '@tanstack/react-query';3import React, {ReactNode, useState} from 'react';4
5const QueryProvider = ({children}: {children: ReactNode}) => {6  const [queryClient] = useState(7    () =>8      new QueryClient({9        defaultOptions: {queries: {staleTime: Infinity}},10      })11  );12  return <QueryClientProvider client={queryClient}>{children}</QueryClientProvider>;13};14export default QueryProvider;
1-3-devtool 설치
- https://tanstack.com/query/latest/docs/framework/react/devtools#devtools
npm i @tanstack/react-query-devtools- 문서대로 따라한다. https://tanstack.com/query/latest/docs/framework/react/devtools#floating-mode
1import { ReactQueryDevtools } from '@tanstack/react-query-devtools’1 <QueryClientProvider client={queryClient}>2 {children}3** <ReactQueryDevtools initialIsOpen={false} />**4 </QueryClientProvider>1-4-Provider컴포넌트 적용
1-4-1-Layout.tsx
- next-with-supabase\app\layout.tsx
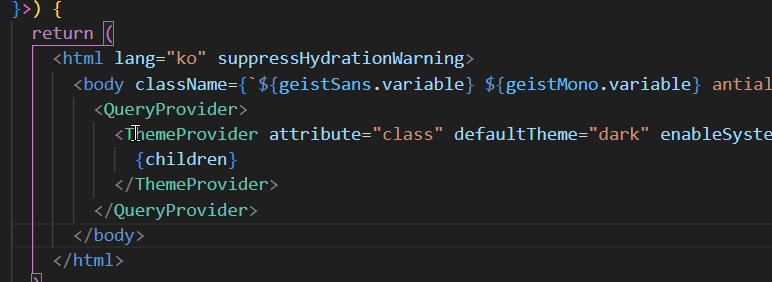
- ThemeProvider를 QueryPrivider 컴포넌트로 래핑한다
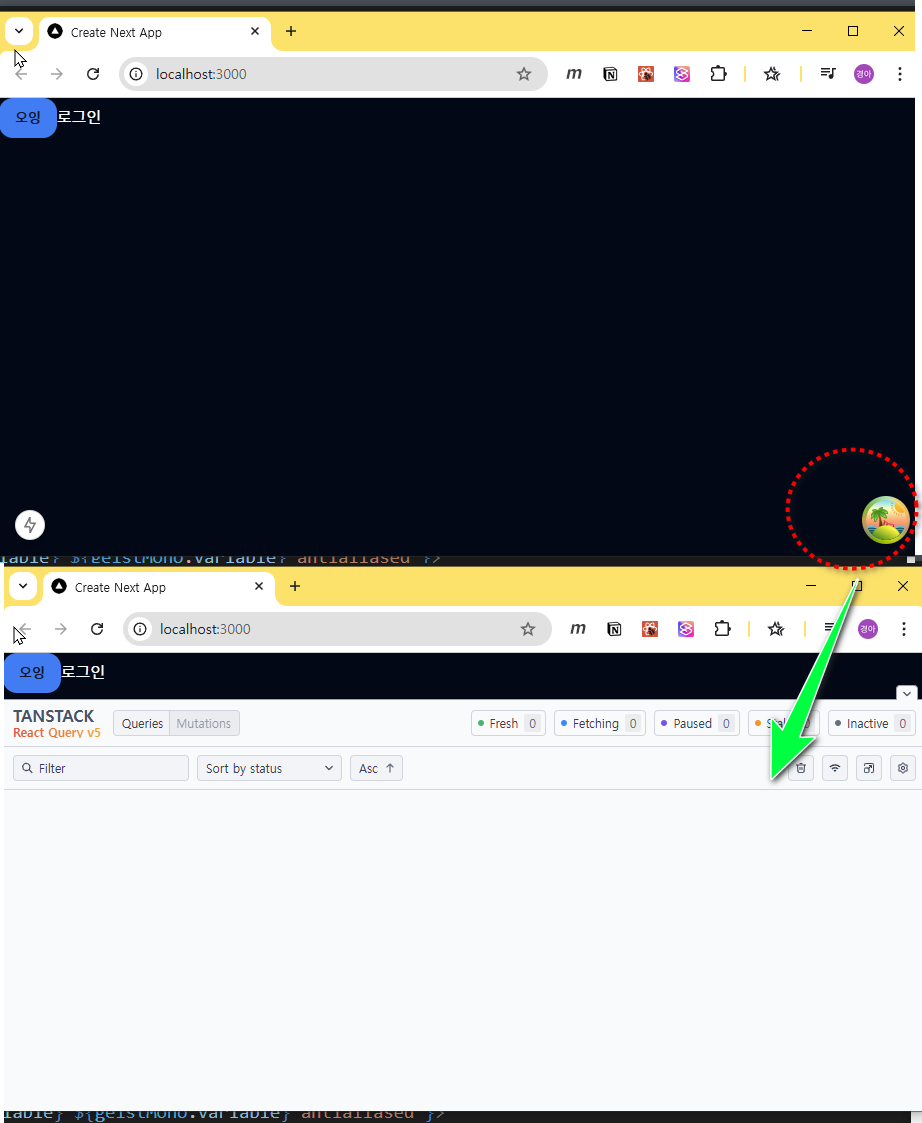
- 개발서버실행
2-사용자정보
2-1-Layout.tsx
- next-with-supabase\app\layout.tsx
- children을 main으로 래핑한다

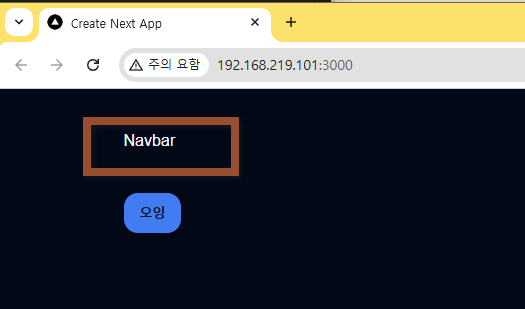
2-2-Navbar.tsx
- next-with-supabase\components\Navbar.tsx 생성
1import React from 'react';2
3const Navbar = () => {4 return (5 <>6 <div>Navbar</div>7 </>8 );9};10export default Navbar;- next-with-supabase\app\layout.tsx

- 확인
- Navbar 이어서 코딩
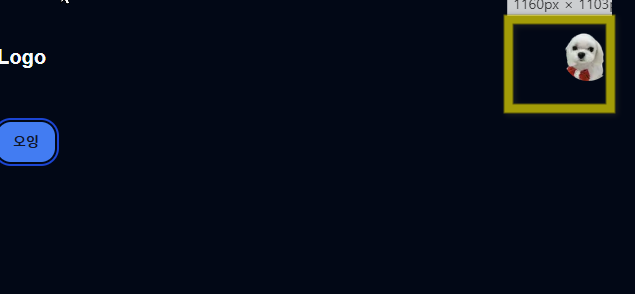
1const Navbar = () => {2//.flex.justify-between.items-center>h1.text-xl.font-bold3  return (4    <div className="flex justify-between items-center">5      <h1 className="text-xl font-bold">Logo</h1>6
7 </div>8 )9};10export default Navbar;- Profile 컴포넌트 추가후 생성
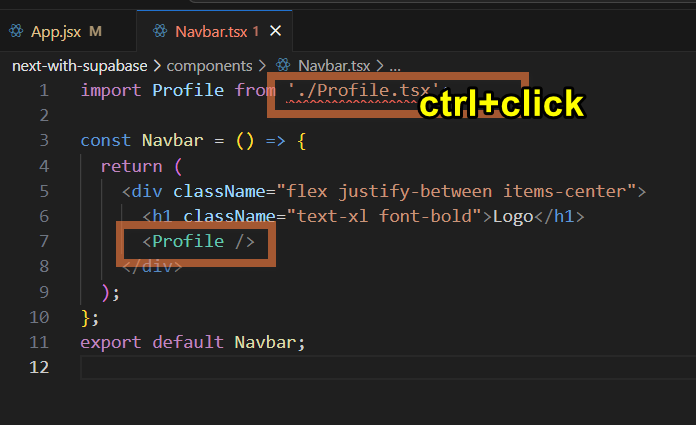
파일생성후 import 의 확장자 삭제
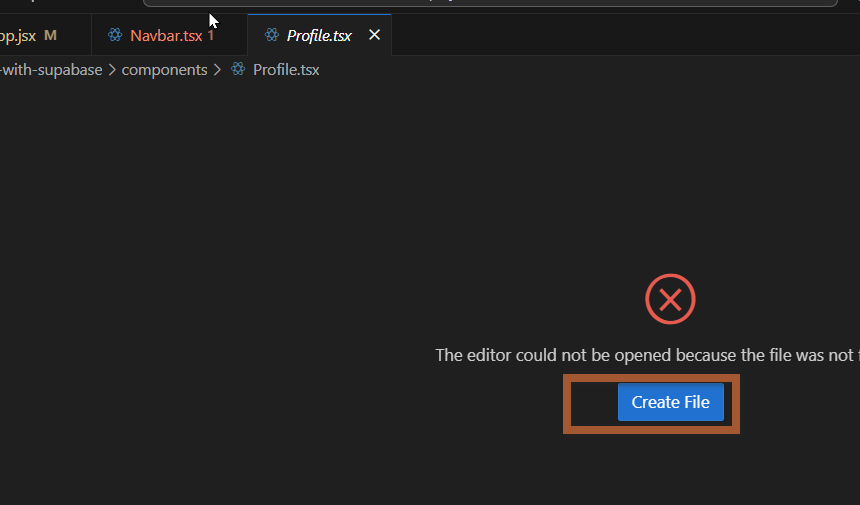
2-3-Profile.tsx
- next-with-supabase\components\Profile.tsx
1import React from 'react';2import {Button} from './ui/button';3import Link from 'next/link';4
5const Profile = () => {6  return (7    <div>8      <Link href="/auth">9        <Button variant="outline">SignIn</Button>10      </Link>11    </div>12  );13};14export default Profile;
2-4-Navbar.tsx
- next-with-supabase\components\Navbar.tsx
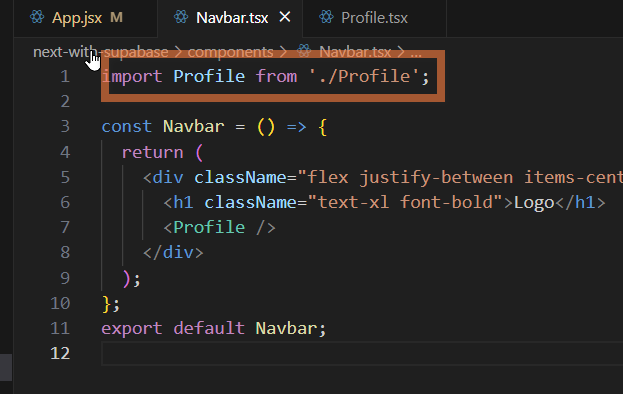
1**import Link from 'next/link';**2import Profile from './Profile';3
4const Navbar = () => {5 return (6 <div className="flex justify-between items-center">7** <Link href="/">**8 <h1 className="text-xl font-bold">Logo</h1>9** </Link>**10 <Profile />11 </div>12 );13};14export default Navbar;- 확인
2-5-사용자프로필
2-5-1-useUser.tsx
정보
💡 리액트 쿼리를 사용하여 사용자 정보를 가져온다
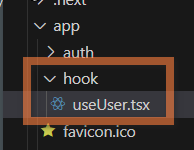
- next-with-supabase\app\hook\useUser.tsx
- 표시된 파일을 생성한다
- 코드작성
1'use client';2import {useQuery} from '@tanstack/react-query';3import {createClient} from '@/lib/supabase/client';4
5export default function useUser() {6  return useQuery({7    queryKey: ['user'],8    queryFn: async () => {9      const supabase = createClient();10      const {data} = await supabase.auth.getSession();11      if (data.session?.user) {12        const {data: user} = await supabase.from('profiles').select('*').eq('id', data.session.user.id);13        return user;14      }15    },16  });17}
2-5-2-수파베이스 타입 설치
수파베이스의 데이터베이스에서 사용중인 데이터들의 타입을 일일히 작성하기란 너무나도 까마득한 일이다. 수파베이스의 타입 생성기를 사용하면 자동으로 생성 된다.
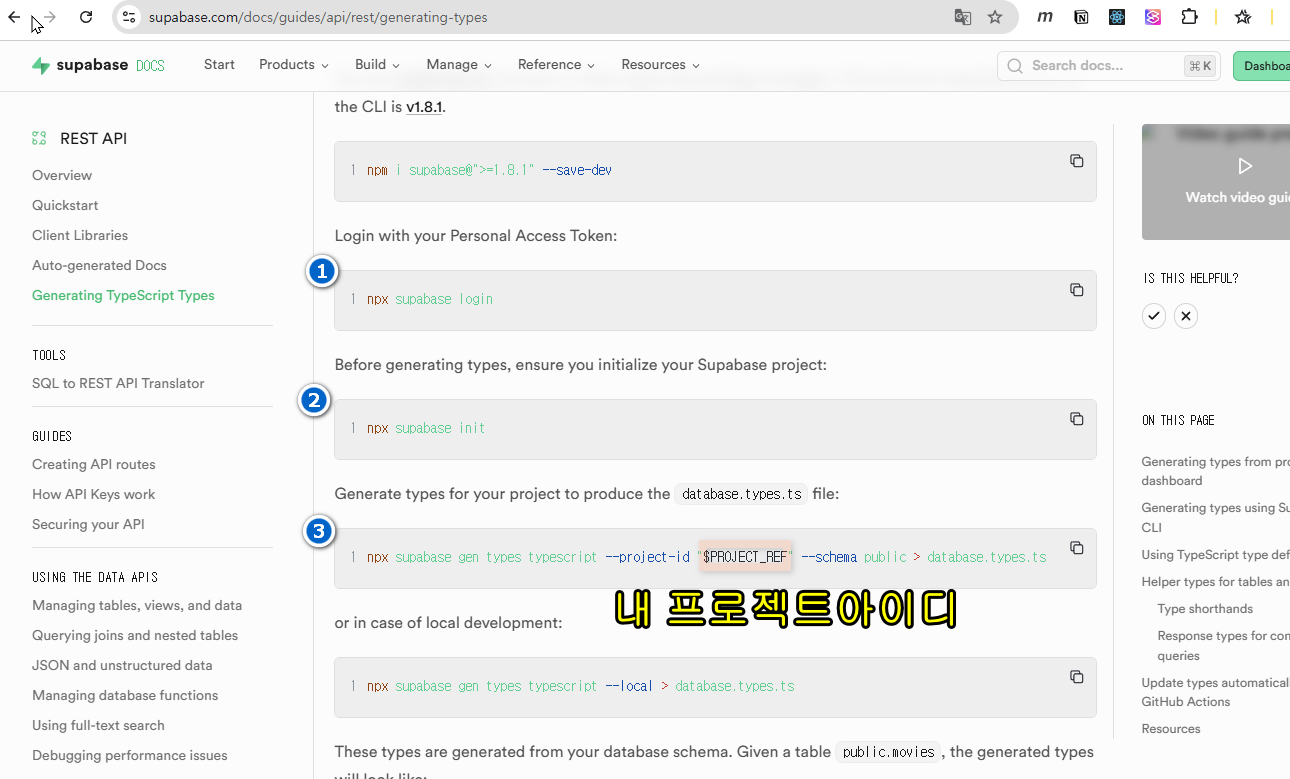
- https://supabase.com/docs/guides/api/rest/generating-types 참조문서를 보면서 진행한다
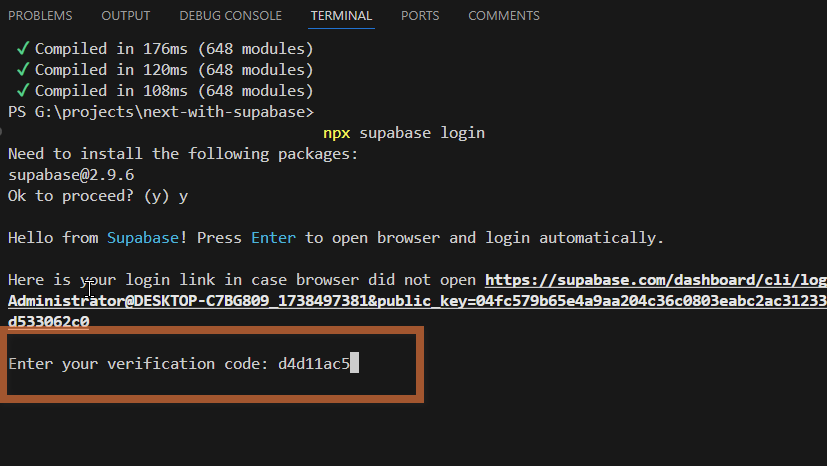
- 웹브라우저를 열고 수파베이스에 로그인한다.
npx supabase login실행- Ok to proceed 가 나오면 y 입력후 엔터

- 자동 로그인하려면 엔터 친다
- 웹브라우저가 열리고 인증키가 보이면 복사한다
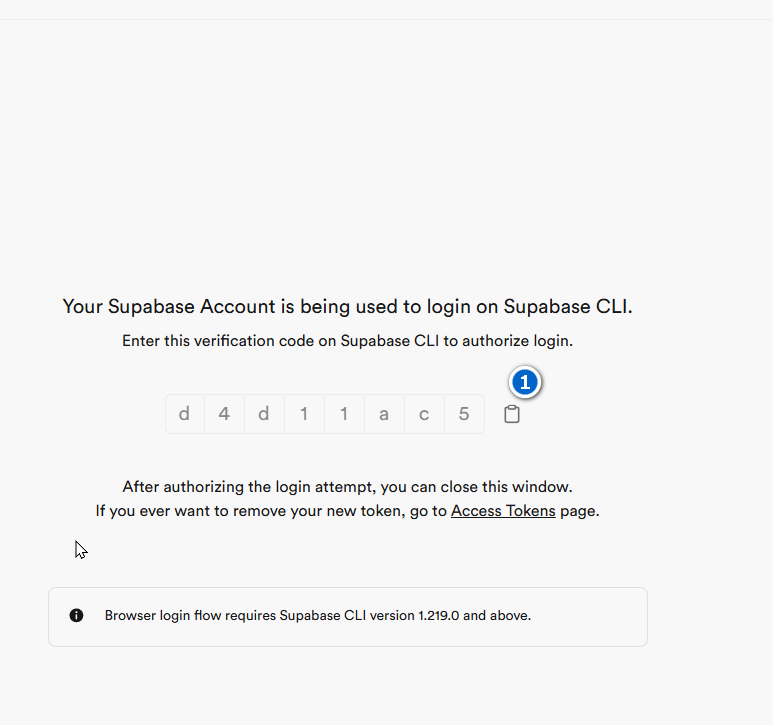
- 터미널에 붙여넣고 엔터키 입력
- 성공
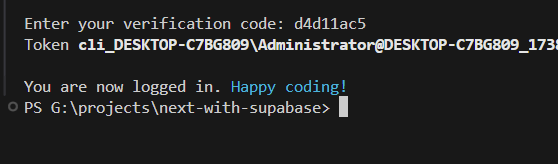
- 아래명령실행
1npx supabase init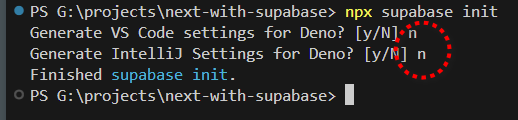
- $PROJECT_REF 에 본인의 ProjectID를 확인하여 변경한다
1npx supabase gen types typescript --project-id "$PROJECT_REF" --schema public > database.types.ts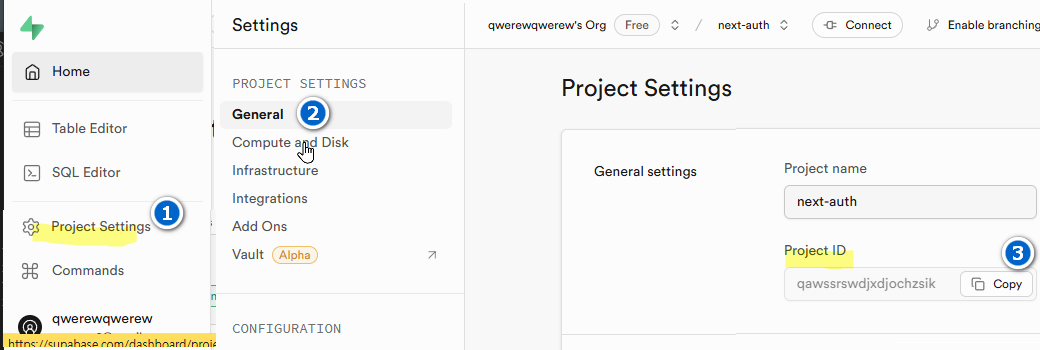

루트에 이미지와 같은 파일이 생성되었다.
정보
💡 만약 수파베이스 데이터베이스의 스키마나 테이블 등의 변경이 있을 경우 기존의 파일을 삭제한 후 8번을 다시 한다.
- 타입지정
- lib\supabase\server.ts
- lib\supabase\client.ts 두 파일에 타입을 연결해보자. 아래 영상을 참조.
루트 경로에 저장된 database.type 의 타입을 참조하고 있다. 11. 조회 결과 필터링
- app\hook\useUser.tsx 데이터베이스를 조회하는 메서드 위에 마우스를 호버하면 타입추론이 되는것을 볼수있다.
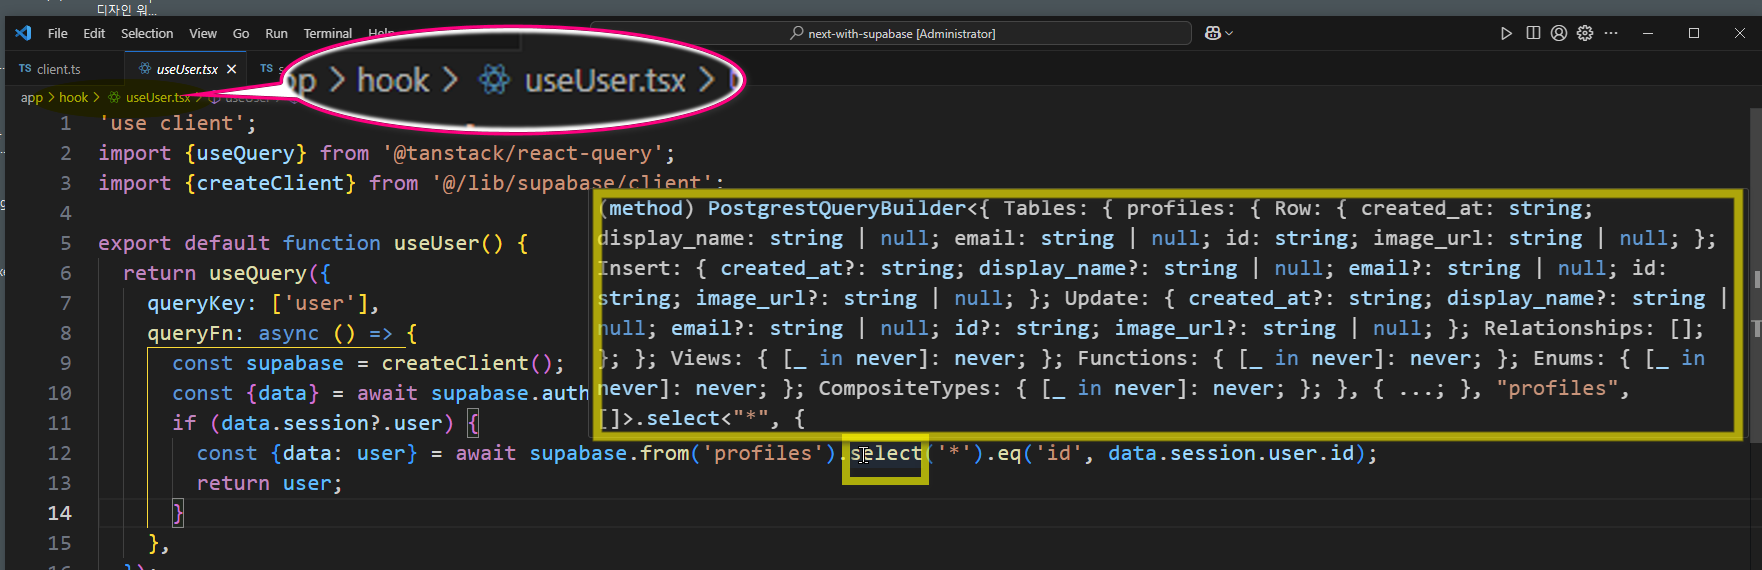
- 아래의 코드는 supabase의 특정 id 를 가진 데이터를 profiles 테이블에서 모두 조회하는 sql 쿼리이다.
1supabase.from('profiles').select('*').eq('id', data.session.user.id)- 동일한 아이디를 가진 사용자는 유일하므로 하나만 조회 하도록 한다.
1...2if (data.session?.user) {3 const {data: user} = await supabase.from('profiles').select('*').eq('id', data.session.user.id)**.single();**4 return user;5}6...2-5-3-조회결과가 없을경우
조회결과가 없을 경우에 대해 작성한다.
- app\hook\useUser.tsx
1'use client';2import {useQuery} from '@tanstack/react-query';3import {createClient} from '@/lib/supabase/client';4
5**const initUser = {6  created_at: '',7  display_name: '',8  email: '',9  id: '',10  image_url: '',11};12
13**...**14**        return user;15      } //end of if**16    return initUser;17**    },18  });19}**20**
2-5-4-Profile.tsx
- useUser 훅 임포트
1**'use client';**2import React from 'react';3import {Button} from './ui/button';4import Link from 'next/link';5**import useUser from '@/app/hook/useUser';**6
7const Profile = () => {8**  const {isFetching, data} = useUser();**9  return (10    <div>11      <Link href="/auth">12        <Button variant="outline">SignIn</Button>13      </Link>14    </div>15  );16};17export default Profile;
3-테이블권한설정
인증된 사용자는 데이터베이스의 읽기권한을 할당하고 개발화면에서 확인해보자
- 수파베이스 대시보드

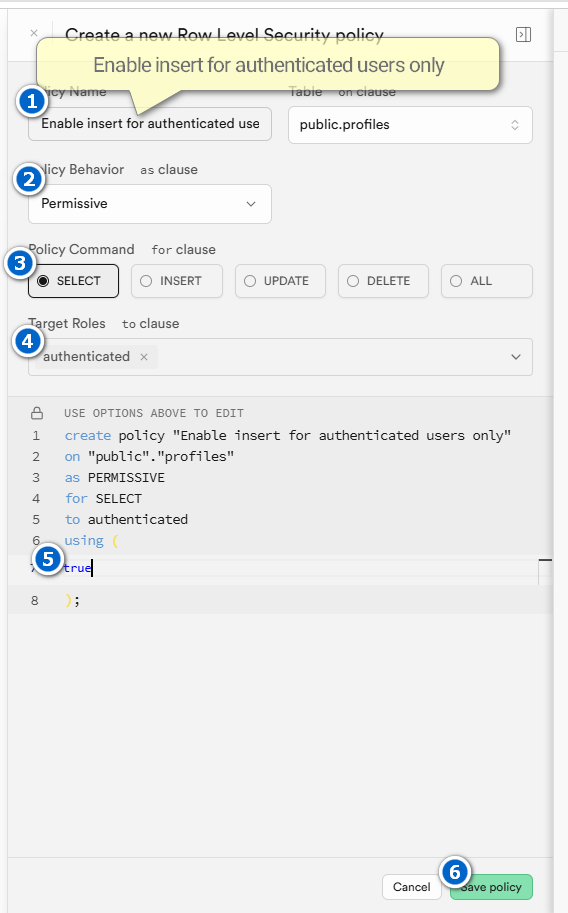
- 데이터 연동 확인
4-Profile.tsx
4-1-유저이름표시하기
1'use client';2import React from 'react';3import {Button} from './ui/button';4import Link from 'next/link';5import useUser from '@/app/hook/useUser';6
7const Profile = () => {8  const {isFetching, data} = useUser();9**  if (isFetching) {10    return <></>;11  }**12  return (13    <div>14**      {!data?.id ? (**15        <Link href="/auth">16          <Button variant="outline">SignIn</Button>17        </Link>18    **  ) : (19        <h1>{data.display_name}</h1>20      )}**21    </div>22  );23};24export default Profile;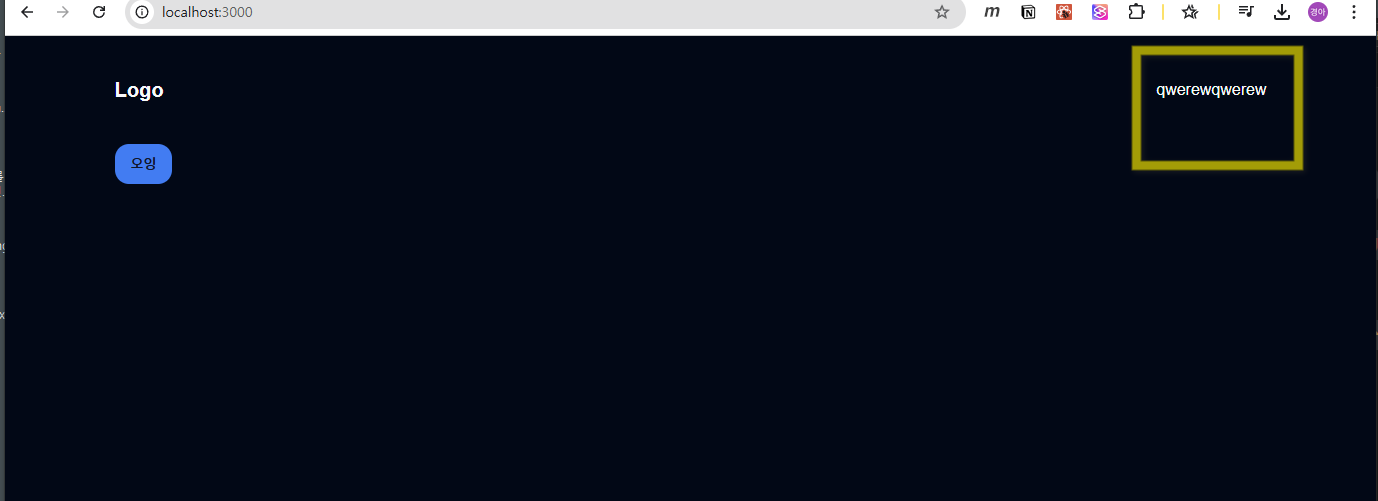
4-2-아바타표시하기
- h1을 삭제하고 NextJS의 Image 컴포넌트를 추가한다 components\Profile.tsx
1...2import Image from 'next/image';3...4{!data?.id ? (5 <Link href="/auth">6 <Button variant="outline">SignIn</Button>7 </Link>8 ) : (9** <Image src={data.image_url || ''} alt={data.display_name || ''} width={50} height={50} className="rounded-full" />**10 )}11 </div>- 이미지 패스 추가 테이블의 image_url의 도메인 부분을 next설정 파일에 작성한다 next.config.ts
1import type { NextConfig } from 'next';2
3const nextConfig: NextConfig = {4  images: {5    remotePatterns: [6      {7        protocol: 'https',8        hostname: 'avatars.githubusercontent.com',9      },10      {11        protocol: 'https',12        hostname: 'lh3.googleusercontent.com',13      },14    ],15  },16};17
18export default nextConfig;
- 확인